
The Canva Video Editor
Post by Amina Delali, August 07th,2023
Where can I find the Canva video Editor
First of all, we must be clear about what we are talking right now. If you want to create a video in Canva, you specify the corresponding template, and you have an entire dedicated video canvas to create your video. The today's post is not about that. It is about an actual set of tools that you can use in Canva to edit an already existing video.
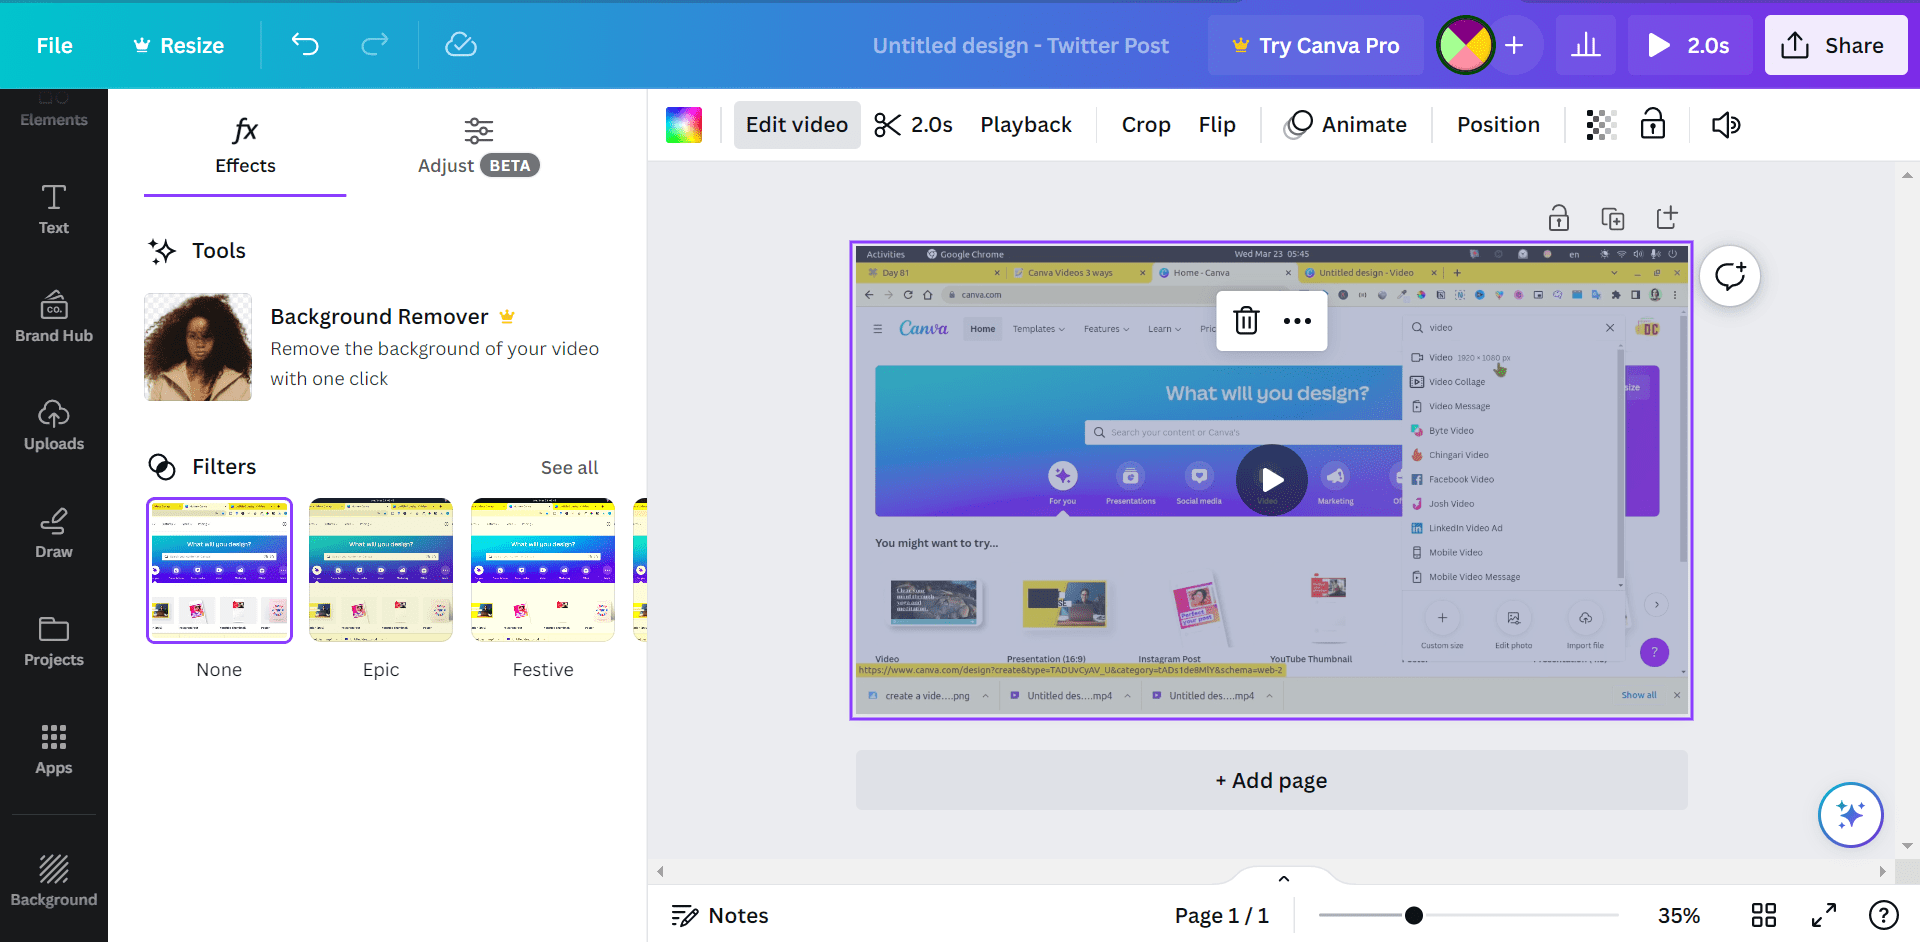
So, when you add a video as an element in your canvas, and you select it, the Video Editor button will appear. When you click on that button, you will have a right side menu with 2 tabs:
- Effects: two distinct tools. Background Remover and filters.
- Adjust : a list of slides to adjust video's parameters, classified in different categories.
In the above sited tools, only the background remover is a premium feature. The rest is free to use.
The Effects Tab
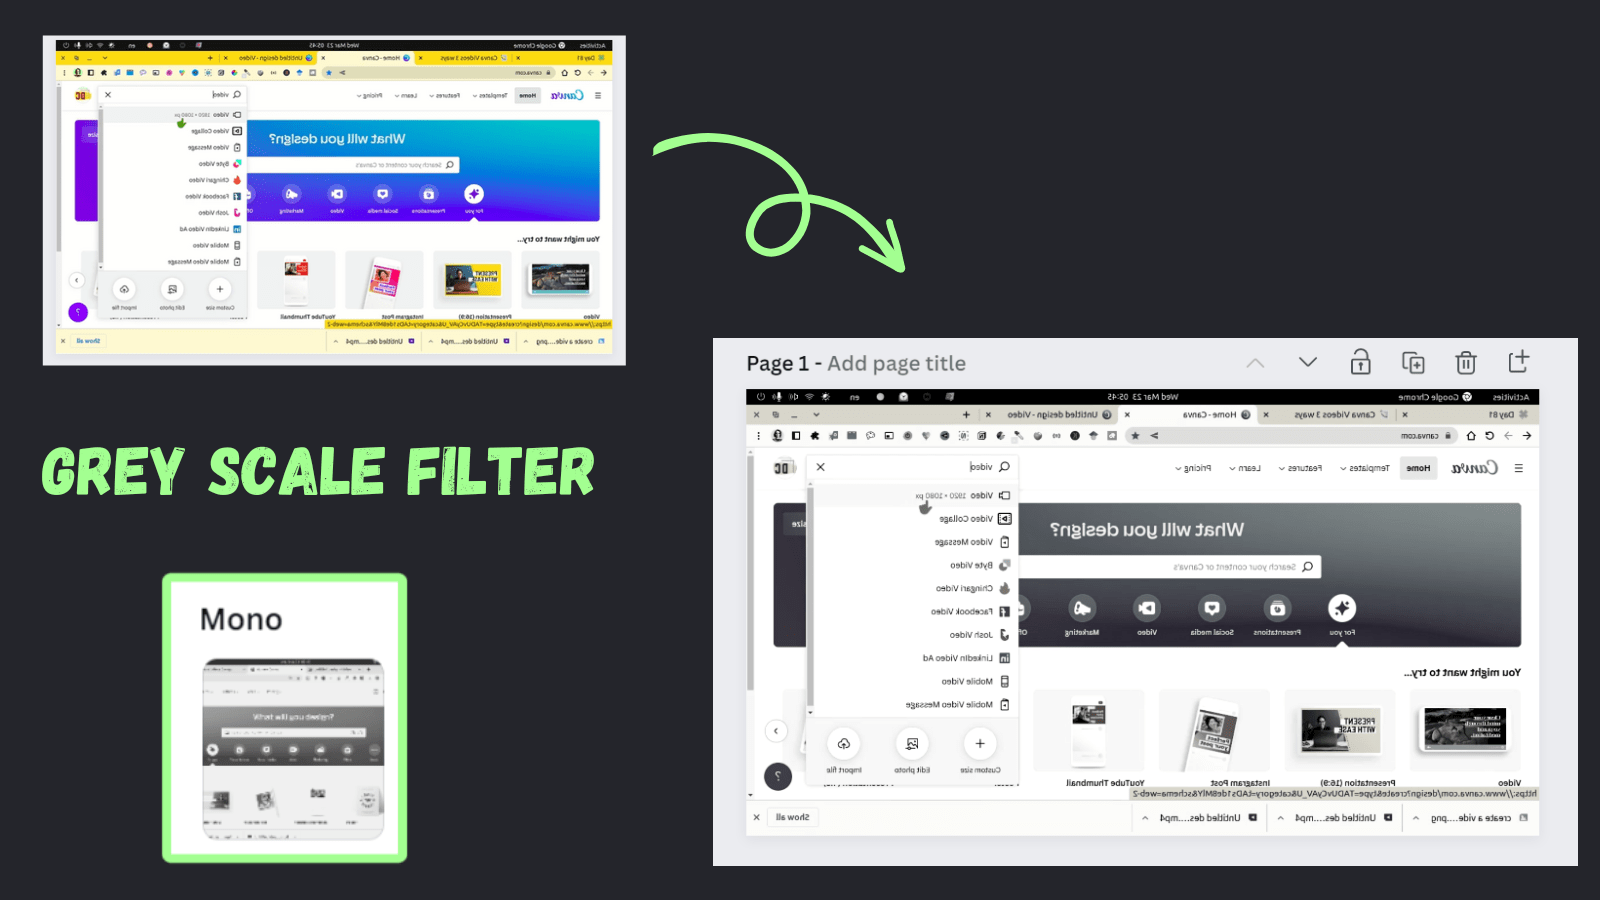
As I said earlier, there are two different tools:
- The Background Remover: I think that you already understand what it is used for: removing backgrounds from videos. Imagine, in one click, getting rid of the noisy ugly background from your videos, to replace it later with a beautiful setup. But you must know, that if you want to use it, you must have at least a Canva Pro Account.
- The Filters: they are like the photo filters, but you apply them on photos instead of on videos. Their number is not the same as the ones for photos, but the result is amazing. In a click, you can change your colorful video, in a gray scale one. And of course, you can change the intensity of every filter, using either the corresponding slider, or its associated entry box. The values range from 0 to 100. To reset the settings, just click on None, that you can find on the top of the filters list.
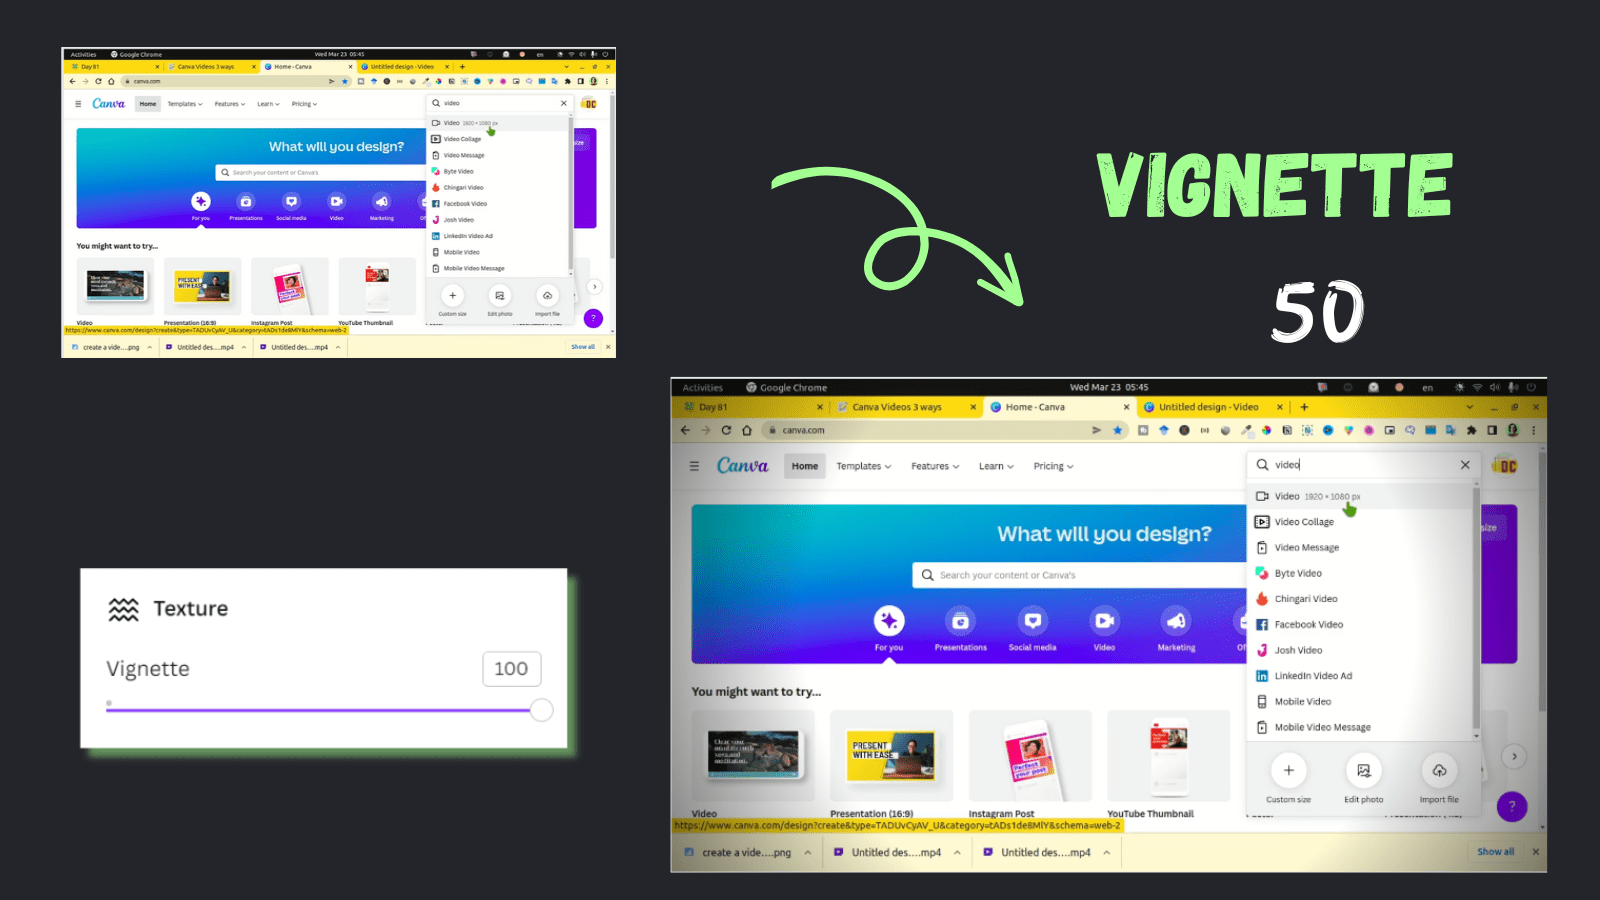
The Adjust Tab
You can change a list of videos parameters using either sliders, or the entry boxes to set the desired values. As I said also earlier, the parameters are grouped in the following categories:
- White Balance: you can change the values of tint and warmth. The scale ranges from -100 to 100.
- Light: the same scale (from -100 to 100) for the values of brightness, contrast, highlights, and shadows. You can also set a fade value from 0 to 100.
- Color: The -100,100 scale that you can use for the saturation, and x-process. The vibrance value can range from 0 to 100
- Texture: You can apply a vignette to your video (which is cool). You can also specify a value for the vignette. The value also ranges between 0 and 100.
The Other Video Tools
They are not concretely part of the video editor, but they appear when you click on the inserted video in the Canvas. The tools are:
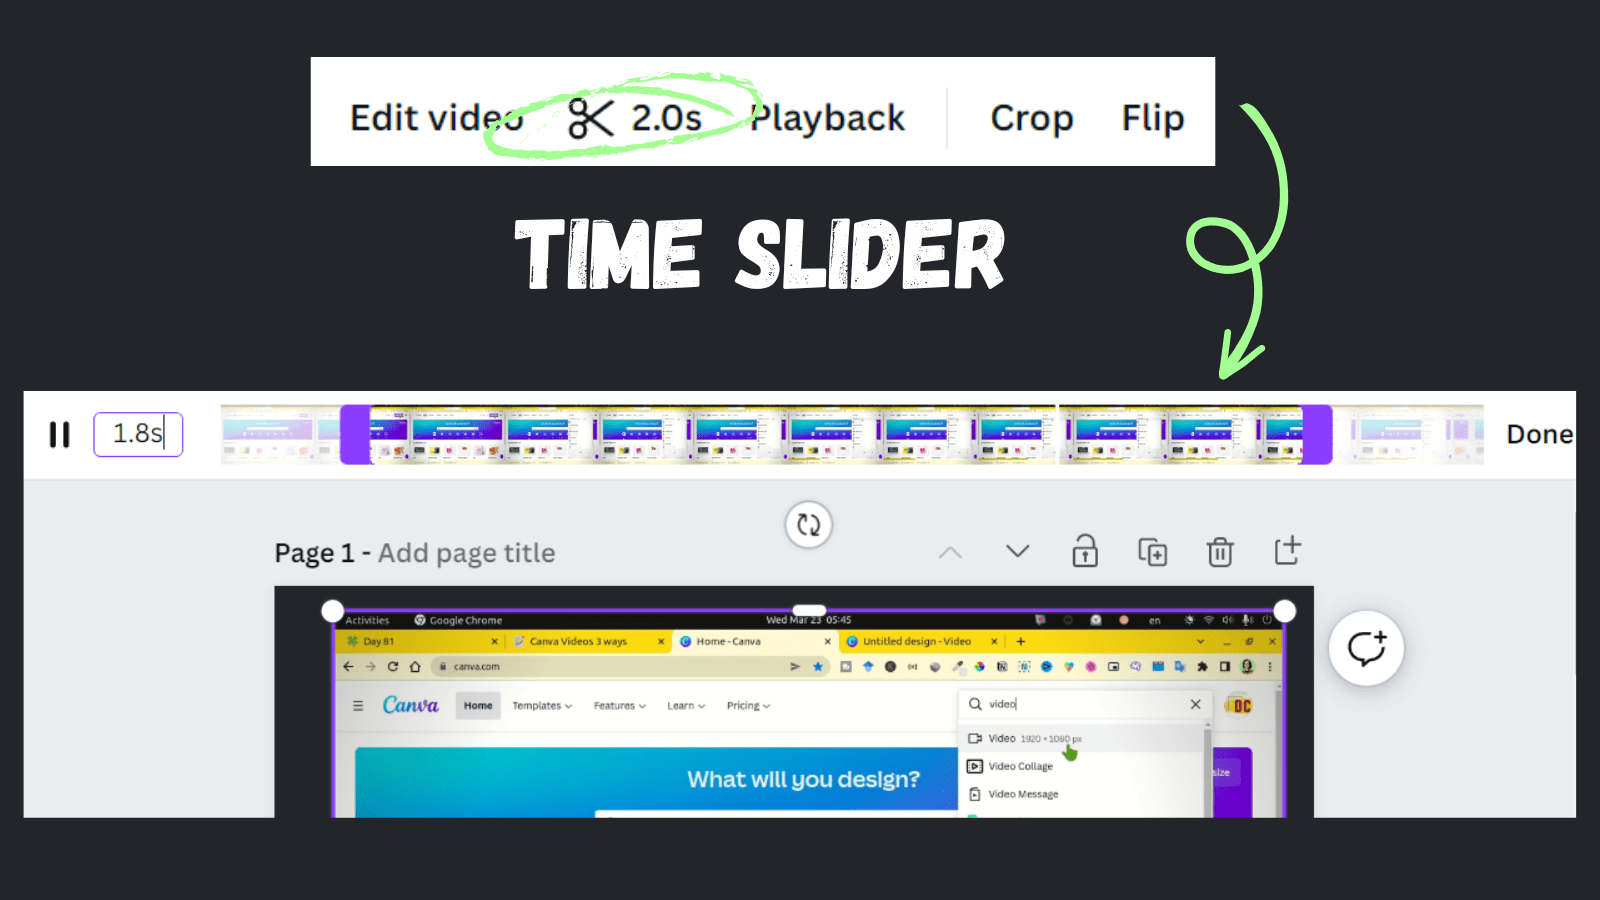
- Time trim tool: you can use a time slider to select a timing portion from your video. You can also resize that slider, so the duration of the video can be changed. The same duration can be set, by entering its value in the corresponding box. When you finish your settings, click on done.
- Playback: in fact this one is a set of tools. When you click on it, a menu appears on the right side, from which you will be able to:
- change the video speed from 0.25 to 2.
- check or uncheck the loop forever in presentation.
- check or uncheck the auto play in presentation.
- Crop: it also displays a side menu on the right of the canvas. You can change two things:
- the aspect ratio: this is where you can crop your video. You can choose between either a free form, or two fixed aspect ratios: 1:1 and 16:9.
- the rotation: of course, you can manually rotate your video. But with this setting, the rotation will be more precise. The rotation value ranges from -180 to 180 degree.
When you finish with these settings, you click on Done.
- Flip: you can flip your video either horizontally, or vertically.
- The volume: you can change the volume of the video from 0 to 100.
Thoughts
Since the video is a design element, you can also apply on it some of the regular settings, as the transparency and the animation for example. But there is something to note here, the video editor is particularly useful, when you have a video, and you want to embed it in your canva design. This way, you don't have to go to a separate video editor. You change it in place, in Canva, while your are designing. And if you think that I missed a feature of the video editor, please let me know in the comments below.